Last updated on August 21, 2026
Spider plant yellow leaves can result from watering stress, poor drainage or root damage, incorrect light, mineral or salt buildup, nutrient imbalance, or occasionally pests. Yellowing is a stress signal, not a single diagnosis. The pattern matters more than the color, and a leaf that’s already fully yellow generally won’t turn green again. Your goal is to identify what’s stressing your plant so you can correct the cause and protect the healthy growth.
Why Is My Spider Plant Turning Yellow?
Your spider plant may turn yellow when its roots, moisture balance, light exposure, or nutrient supply are under stress. These problems can interfere with chlorophyll, the pigment that keeps Chlorophytum comosum foliage green and supports photosynthesis. As University of Maryland Extension notes, noticing the pattern and progression of symptoms is key to correctly diagnosing the underlying cause.
Because different stresses can trigger the same yellowing, leaf color alone isn’t enough to identify the cause. A problem with the root zone, water uptake, light exposure, or nutrient availability can eventually produce a similar visible response.
So how do you tell one cause from another? Use four clues: where the yellowing appears, how the leaf feels, which symptoms appear with it, and what changed recently. Together, these clues narrow the cause more reliably than treating “yellow leaves” as one problem with one fix.
What Your Spider Plant’s Yellow Leaves Are Telling You
Find the pattern that best matches your plant, then use the accompanying signs to narrow the likely cause:
| Yellowing Pattern | Likely Direction | Check First |
|---|---|---|
| Lower or base leaves only | Natural aging, or mild ongoing stress | How many leaves, how quickly |
| New leaves turning yellow | Root-zone or nutrient issue | Root condition, feeding history |
| All leaves yellowing at once | Severe whole-plant stress; possible root damage | Soil moisture and roots, now |
| Yellow and soft or mushy | Excess moisture, root stress | Soil moisture, drainage |
| Yellow and droopy or limp | Either watering extreme | Whether the soil is wet or dry |
| Yellow and dry or crispy | Underwatering, heat, or mineral stress | Soil dryness, water source |
| Yellow with brown tips | Water quality, salts, moisture swings | Tap water, fertilizer schedule |
| Yellow with brown spots | Localized damage, possible pests | Leaf undersides, spot pattern |
| Yellow and black | Severe tissue or root damage | Roots and base of plant |
| Yellow leaves dropping off | Active decline | Soil moisture and root condition |
| Yellow stems or base | Advancing stress or possible rot | Base firmness and moisture around the crown |
A limp yellow leaf can point in opposite directions depending on the soil: wet soil suggests excess moisture and root stress, while dry soil points toward underwatering.
7 Common Causes of Spider Plants Yellow Leaves
1. Overwatering and Poor Drainage
Waterlogged soil pushes oxygen out of the root zone, and as oxygen levels fall, root function suffers. Yellowing linked to excess moisture is more convincing when soft foliage appears alongside soil that remains wet for an unusually long time or water collects in the saucer. Feel the soil before watering again. If it’s still wet below the surface while the plant is yellowing, excess moisture becomes more likely.
Fix: Let the soil dry before watering again, empty water from the saucer, and make sure the pot drains freely. Prolonged saturation also increases the risk of root rot, covered in the root-stress section below. If the plant also stops producing new leaves, spider plant growth may be slowing for reasons beyond watering alone.
2. Underwatering and Inconsistent Soil Moisture
Both prolonged dryness and uneven soil moisture can cause spider plant leaves to turn yellow. Underwatering is more likely to leave the affected tissue dry and crisp, often starting at the tips and moving inward.
Does the pot feel unusually light, or has dry soil pulled away from the sides? Those signs support underwatering. If the soil regularly dries out too far between waterings, fluctuating moisture may be contributing to ongoing stress.
Fix: Water thoroughly until excess water drains from the bottom, then allow the top layer to dry before watering again. Avoid both prolonged dryness and repeated extremes in soil moisture. How quickly the soil dries depends on light, season, and pot size. Use its moisture level to guide watering as part of a consistent spider plant care routine rather than relying on the same interval year-round.
3. Too Little Light or Too Much Direct Sun
Both insufficient light and intense direct sun can yellow spider plant leaves, but the pattern differs. In genuinely dim conditions, reduced photosynthesis can gradually leave the foliage pale or yellow while growth slows.
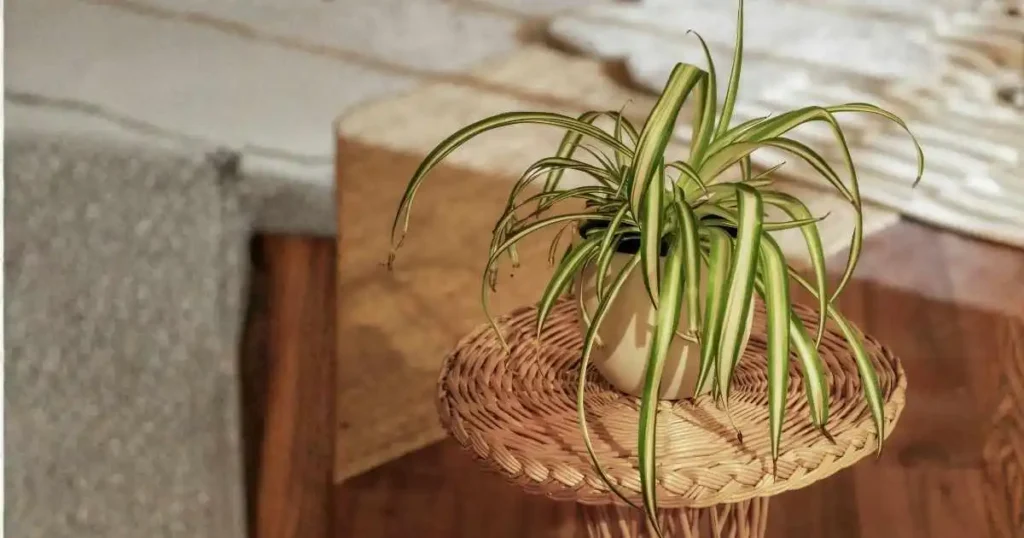
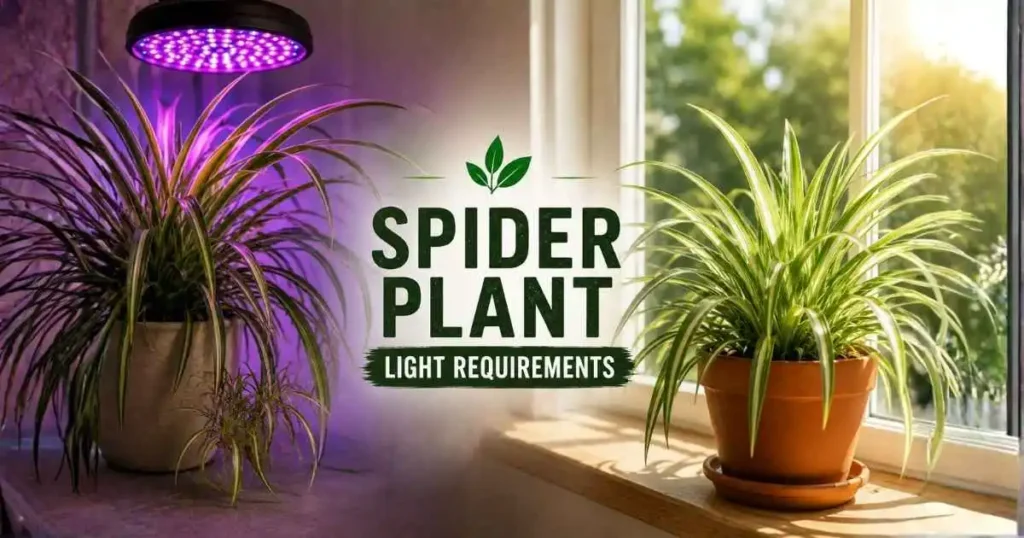
Fix: Spider plants do best in bright, indirect light. An east-facing window can work well, while stronger light from south- or west-facing windows may need filtering with a sheer curtain. Maintaining the right light conditions for spider plants can help prevent stress from both dim conditions and overly intense exposure.
4. Tap Water Minerals and Salt Buildup
Minerals in tap water and accumulated fertilizer salts can contribute to yellowing when dissolved salts build up around the roots. Dry or browned leaf tips can occur alongside yellowing, but they have several possible causes. Yellow leaves alone don’t identify water quality as the cause; a white or greyish crust on the soil surface or pot rim is stronger evidence of mineral or salt accumulation.
Fix: Leaving tap water uncovered overnight can allow some free chlorine to dissipate, but it won’t remove fluoride or dissolved mineral salts. If your water is mineral-heavy, use rainwater, distilled water, or water filtered with a system designed to reduce those dissolved minerals. If fertilizer salts have accumulated, flush the soil thoroughly with water and pause feeding.
5. Nutrient Deficiency or Too Much Fertilizer
Nitrogen supports chlorophyll production, so a deficiency can leave spider plant foliage progressively pale or yellow. But yellowing doesn’t automatically mean the plant needs more fertilizer; excessive feeding can also stress the roots and interfere with nutrient uptake.
Fix: Check the feeding history before adding anything. A plant that has gone a long time without nutrients and is gradually paling may benefit from a diluted, balanced fertilizer during active growth. If it has already been fertilized regularly or recently, adding more can make the problem worse.
6. Root Stress, Root Rot, or a Severely Root-Bound Plant
Root problems can cause yellow leaves when crowding or damaged roots interfere with water and nutrient uptake. A snug pot alone isn’t necessarily a problem. Look for severe crowding instead: densely circling roots, roots growing through the drainage holes, or a pot containing very little visible soil.
Severe crowding can interfere with normal water and nutrient uptake, so changing the watering routine alone may not solve the yellowing. Root rot looks different: damaged roots become soft, mushy, or discoloured, while healthy roots are generally firm and pale.
| Condition | Snug but Healthy | Severely Root-Bound | Rot-Damaged |
|---|---|---|---|
| Root appearance | Firm, pale roots | Circling or growing through drainage holes | Soft, mushy, discoloured roots |
| Soil visibility | Roots fit within the pot | Little to no soil visible | Foul smell from the root zone |
| Action | No action needed | Repot when needed | Remove damaged roots; repot in fresh mix |
Fix: Don’t repot based on yellow leaves alone. Repot when the root inspection shows severe crowding or damage.
7. Pests
Pests are a less common cause of spider plant yellowing, but sap-feeding insects can weaken foliage and cause discoloration, adding to the care challenges that can affect spider plants. Check leaf undersides, tender growth, and stems for visible insects or feeding signs.
| Pest | Look For | Action |
|---|---|---|
| Spider mites | Fine webbing, tiny specks | Rinse leaves; inspect again |
| Mealybugs | White, cottony clusters | Remove visible pests; use horticultural soap |
| Aphids | Clusters of small insects on tender growth | Rinse off or use horticultural soap |
| Scale | Firm bumps attached to leaves or stems | Remove visible scale; use horticultural soap |
Fix: Treat only after finding clear evidence of an infestation; yellowing by itself isn’t enough to diagnose pests. If pests are present, remove as many as possible and use an appropriate treatment such as horticultural soap, following the product directions.
Yellowing can have several overlapping causes, so understanding the plant as a whole can make it easier to connect individual symptoms with its broader spider plant care topics.
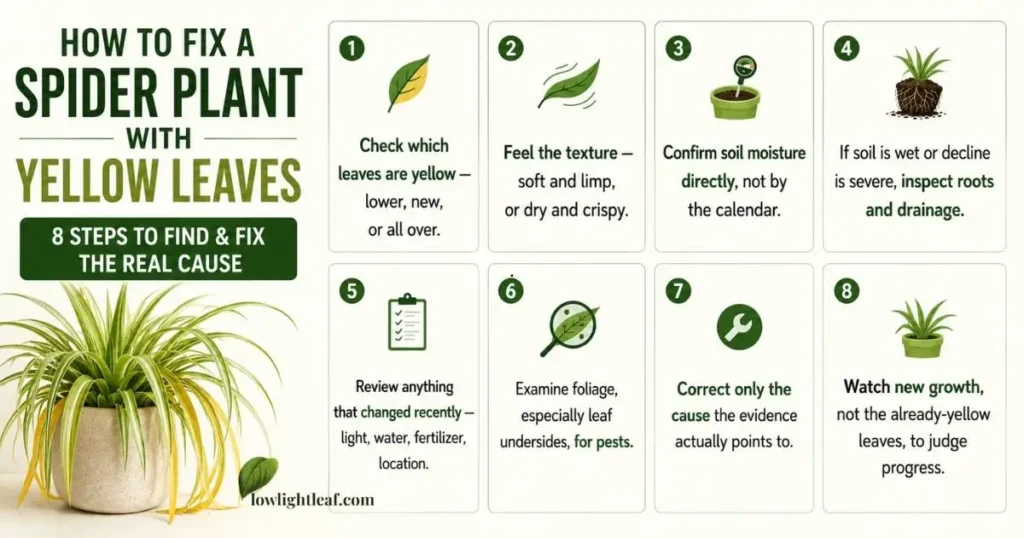
Spider Plant Turning Yellow After a Recent Change?
Did the yellowing start right around a specific change, a repot, a move, or separating a pup? When yellowing follows a clear event, that change is the first place to investigate.
Yellow Leaves After Repotting
Some temporary yellowing can follow root disturbance after repotting, and it should stabilize as new roots establish rather than continue spreading. Yellowing that keeps advancing, or pairs with wilting, deserves a closer look.
Yellowing After Moving the Plant Indoors or to a New Spot
Moving a plant can suddenly change the light environment for your spider plant, temperature, or humidity. Some yellowing may accompany this adjustment, but continued worsening suggests the new conditions aren’t suitable.
Fix: keep the plant in a stable spot instead of moving it repeatedly, and let the yellowing trend settle before blaming the location.
Yellowing After Propagation
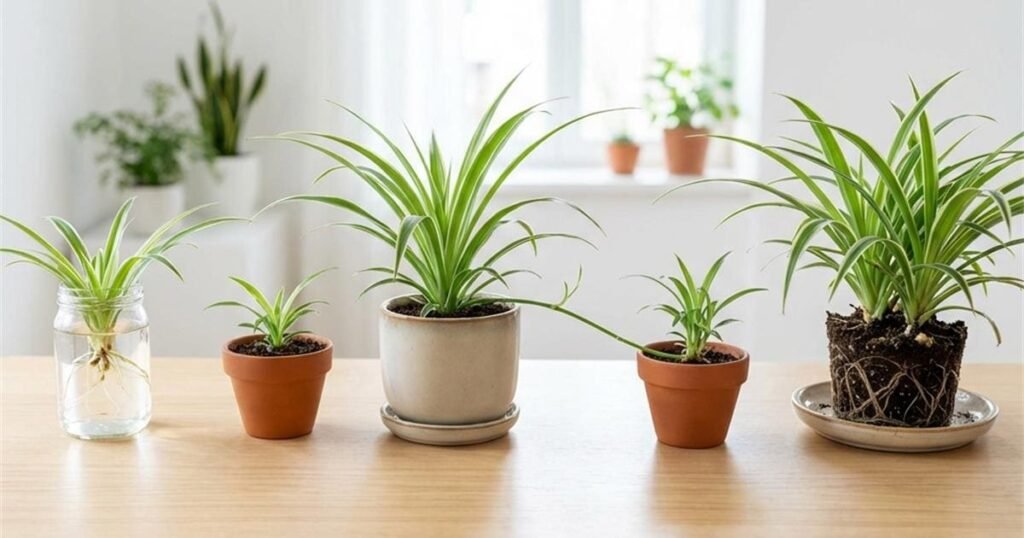
A recently separated pup has a limited root system that hasn’t caught up to its top growth, so yellowing can occur during this adjustment period. See our propagation guide for the process itself.
Fix: Don’t let a newly rooted pup remain excessively dry while its roots establish, but avoid keeping the potting mix saturated.
Why Are My Spider Plant Babies or Pups Turning Yellow?
Attached pups and separated pups yellow for different reasons. An attached pup relies partly on the parent plant’s roots, so its yellowing can reflect the parent’s condition. A separated pup has its own immature root system, so moisture stress and adjustment to growing on its own are more likely when propagating spider plant pups.
Yellowing starting at the stem connecting a pup to its runner is worth watching. If it progresses toward the pups before separation, consider separating healthy pups before the damage reaches them.
Fix: Check the parent plant’s health if pups are still attached. If separated, treat it like a young plant establishing itself, consistent moisture without keeping the soil soggy, plus stable placement.
Why Is My Spider Plant Turning Yellow in Water?
A spider plant growing in water can yellow when root conditions deteriorate, the water quality is poor, or nutrients become limited. Stale water can reduce oxygen around the roots, while water culture leaves the roots directly exposed to dissolved minerals and provides different nutrient conditions than growing in soil. For soil-grown plants, how to water a spider plant properly depends on moisture levels rather than a fixed schedule.
Fix: Inspect the roots and remove any damaged tissue. Replace stale or cloudy water instead of simply topping up the container, keep the container clean, and follow the water-quality precautions covered above. If the plant remains in water long term, use nutrients formulated for water culture according to the product directions.
Does Seasonal Yellowing Matter? Winter vs Summer
The season doesn’t cause yellowing directly; it changes which cause is more likely. In winter, slower drying can increase the risk of excess moisture. In summer, faster drying and stronger light shift the risk toward underwatering and light stress. The same diagnostic approach can help when dealing with yellowing in other common houseplants.
Should You Cut Yellow Leaves Off a Spider Plant?
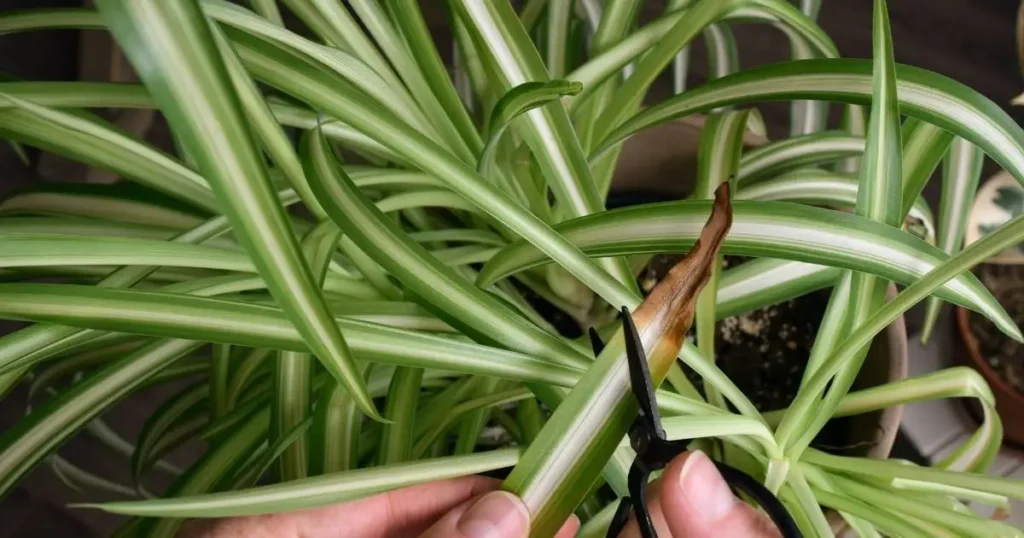
For a fully yellow leaf, yes. Trim it near the base with clean, sharp scissors without cutting into the healthy crown. A partially yellow leaf can stay a little longer if you want to monitor it. Removing yellow leaves doesn’t correct the underlying cause. Trimming mainly improves appearance and makes new yellowing easier to spot.
Can Yellow Spider Plant Leaves Turn Green Again? No. Once a spider plant leaf has turned fully yellow, it won’t regain its green color. Correcting the underlying cause protects healthy foliage and new growth, so judge recovery by whether the yellowing stops spreading and healthy new leaves continue to develop.
When Yellow Leaves Mean Your Spider Plant Is Seriously Declining
| Normal / Monitor | Act Soon | Urgent |
|---|---|---|
| One or two older leaves yellowing slowly | Yellowing beyond the lower leaves | All leaves yellowing at once |
| No other symptoms | Yellow paired with soft or dry stress | Yellow with black tissue |
| — | Slower growth than usual | Soft, moldy roots or foul soil smell |
| — | — | Active leaf drop or rapid wilting |
The more severe signs that appear together, the more important it becomes to inspect the root system and, when damage or severe crowding is confirmed, consider repotting a stressed spider plant.
FAQs: Spider Plant Yellow Leaves
Why does my spider plant keep getting yellow leaves?
Yellow leaves keep returning when the underlying cause is still affecting the plant or the same stressful condition keeps recurring. This can happen when a care problem is only temporarily corrected, so new leaves begin yellowing after the plant is exposed to the same stress again.
How long does a yellowing spider plant take to recover?
There is no fixed recovery time. Improvement is better judged by yellowing that stops spreading and healthy new growth; the timeline varies with the severity of stress and root condition.
Why are new leaves on my spider plant turning yellow?
Yellowing new leaves can indicate an active root-zone or nutrient problem affecting developing growth. Check root condition and recent feeding history, especially if successive new leaves also emerge pale or yellow.
Can a spider plant survive if most of its leaves turn yellow?
Yes, if the crown and enough healthy roots remain viable. A soft crown, extensively damaged roots, or rapid wilting indicates a more serious decline and lowers the chance of recovery.
How can I tell if yellow spider plant leaves are from overwatering or underwatering?
Check the soil and leaf texture together. Wet soil with soft yellow foliage points toward overwatering; very dry soil with crisp yellow foliage points toward underwatering.
Final Thoughts
Spider plant yellow leaves are most useful as a clue to what has changed in the plant’s growing conditions, not as a diagnosis on their own. The location of the yellowing, leaf texture, root condition, and timing together give you a much clearer picture of what the plant needs.
Once you’ve identified the likely cause, make the specific correction and give the plant time to respond without changing several things at once. The clearest sign of recovery is healthier growth ahead, not a perfect-looking older leaf.
Explore more:

Muddsir Munir
Houseplant enthusiast researching and writing about indoor plants, helping beginners grow spider plants, snake plants, and more with confidence.