
Last updated on October 16, 2026
If you’re searching for a reliable spider plant growing guide, this will walk you through exactly what works. Spider plant care is beginner-friendly, but common issues like slow growth, brown leaf tips, and improper watering routines can still hold your plant back.
Growing spider plants indoors becomes much easier once you understand how light, moisture, and soil structure affect root health and leaf growth. Getting the right light balance is especially important, as indoor plant light requirements directly affect growth and leaf health. Small adjustments, like using well-draining potting mix, avoiding chemical-heavy tap water, and placing your plant in bright, indirect sunlight can noticeably improve results.
This guide focuses on practical spider plant indoor care and explains how to care for this plant step by step, including watering frequency, light requirements, soil mix, and problem fixes. By the end, you’ll know how to grow a healthy, fast-growing Chlorophytum comosum with strong roots and vibrant foliage.
Discover why plant lovers around the world call the Spider Plant the ‘Queen of Easy-Care Houseplants.
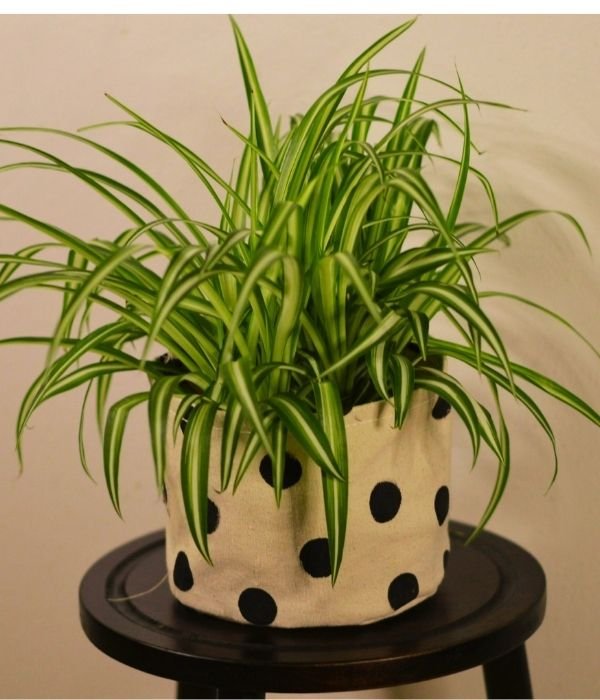
Common Name: Spider Plant, Ribbon Plant, Spider Ivy
Scientific Name: Chlorophytum Comosum
Botanical Family: Asparagaceae
Plant Type: Herbaceous, perennial
Mature Size: 1–2 ft tall and wide
Sunlight Required: Partial, Shade
Soil Category: Well-drained, Loamy and Neutral pH
Bloom Time: Four Seasons
Bloom Colour: White, Yellow
Resilience: 9–11 (USDA)
Native Habitat: Africa
How to Plant a Spider Plant (Using Pups)
The easiest way of growing this plant is by using pups (baby plantlets). This method is faster, more reliable, and ideal for beginners.
- ■ Choose a healthy pup with small roots already developed.
- ■ Always ensure a pot with drainage holes to prevent waterlogging.
- ■ Fill the pot with well-draining soil, such as indoor potting mix + perlite.
- ■ Place the pup in the center and gently cover its roots with soil.
- ■ Water lightly until the soil feels evenly moist.
- ■ Keep it in bright, indirect light to encourage quick growth.
This method works best for propagating Chlorophytum comosum indoors.
How to Grow Spider Plant from Seeds (Step-by-Step)
Growing spider plants from seeds is possible, but it’s slower and less reliable than using pups, so following a proper propagation method is essential UW Spider Plant Guide.
We suggest either propagating it or, if you want to experience the plant growing from a seed, following this guide.
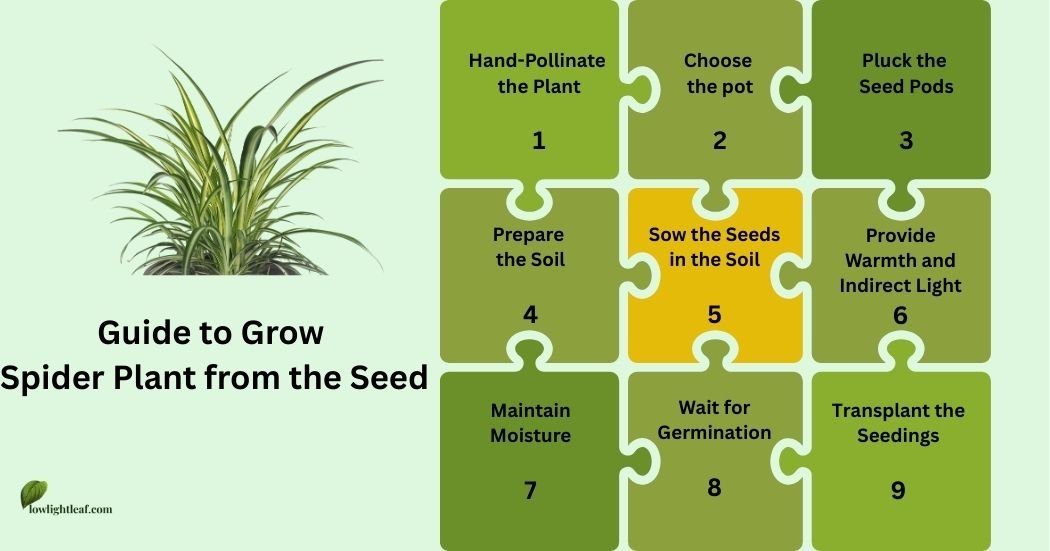
■ Hand-Pollinate the Plant
If you want to grow spider plants from seeds, pollination is the first step. Spider plant flowers don’t always self-pollinate indoors, so you’ll need to transfer pollen manually using a soft brush. Gently move pollen between open blooms, doing this across several flowers will improve your chances of healthy seed development.
■ Choose the pot
Next, pick a pot with proper drainage holes. Good drainage is essential because excess moisture can quickly lead to root rot. Since indoor environments already hold some humidity, using a breathable container helps maintain a balanced moisture level in the soil.
■ Collect the Seed Pods
After brushing, when the flowers fade, you will notice small green pods. As they mature and dry out, these pods contain the seeds. At this stage, carefully collect them and store them in a dry place until you’re ready to plant.
■ Prepare the Soil
Before planting, make sure your soil setup actually supports healthy growth. Use a light, well-draining potting mix so excess water doesn’t stay trapped around the roots. Loosen the soil slightly so seeds can settle evenly and young roots can spread without resistance.
■ Sow the Seeds in the Soil
Always plant the seeds about 1/2 inch deep in loose, well-draining soil for proper growth. Keep spacing even so each seed gets enough room to develop.
■ Provide Warmth and Indirect Light
Always keep the pot in a warm area with indirect light to creates the ideal environment for germination and early growth.
■ Maintain Moisture (Optional Covering)
Keep the soil slightly moist, not overly wet. To maintain consistent humidity, you can loosely cover the pot with a thin plastic sheet. This helps create a stable microclimate for young seedlings.
■ Wait for Germination
At this stage, patience matters. Germination may take time depending on temperature and moisture levels. Avoid direct sunlight and keep checking soil moisture regularly to support steady growth.
■ Transplant the Seedlings
Once the seedlings develop a few healthy leaves, move them into separate pots. This gives each plant enough space for root development and prevents overcrowding.
Growing spider plants from seeds is possible but slower and less reliable than propagation using pups.
Spider Plant Care Guide for Beginners (Chlorophytum Comosum)
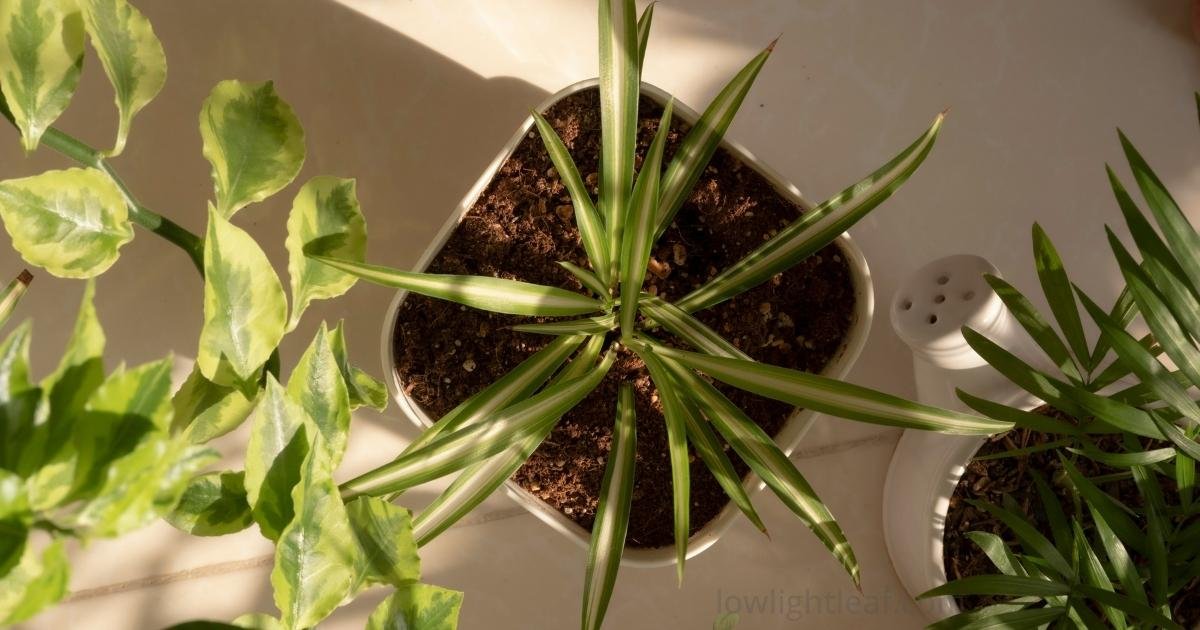
Spider plant care is simple, but getting consistent growth and healthy foliage depends on a few key basics. If your plant isn’t growing well or starts developing brown tips, it usually comes down to light, watering, or soil conditions. The good thing is, once you understand these small adjustments, caring for a Chlorophytum comosum becomes very predictable and beginner-friendly.
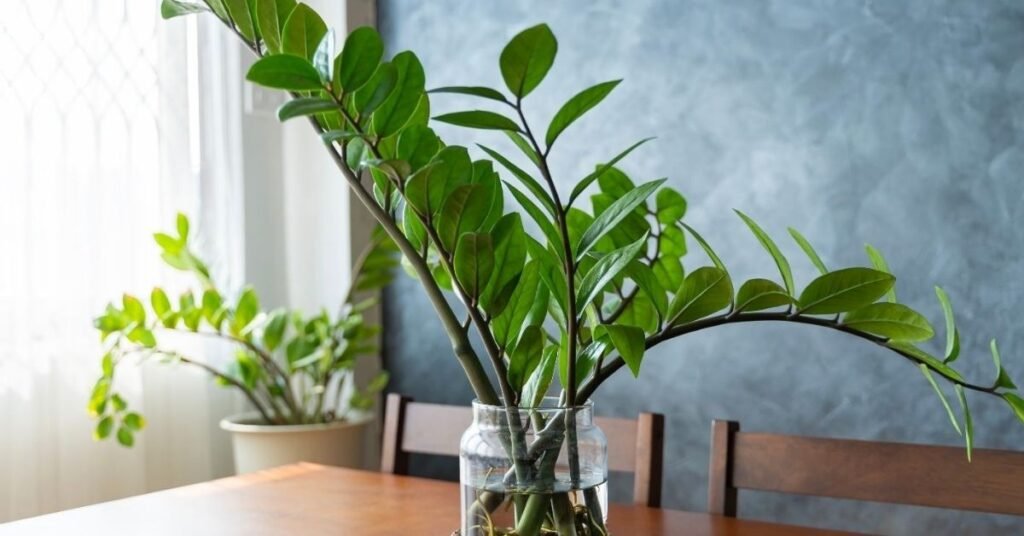
These hardy indoor plants, similar to ZZ plants, don’t demand much attention. With bright indirect light, controlled watering, and a stable indoor environment, they grow quickly, produce small white flowers, and develop baby plantlets (spiderettes) that make propagation easy.
Quick Spider Plant Care Summary
- Light: Bright, indirect
- Water: When the top inch is dry
- Soil: Well-draining, loamy
- Temperature: 60–80°F
■ Soil
If your spider plant struggles with slow growth or root issues, soil is often the reason. They perform best in a loose, well-draining mix that doesn’t hold excess moisture. A slightly loamy texture with a pH around 6–7 helps maintain proper root aeration and prevents waterlogging, both essential for healthy indoor growth.
■ Light Requirements for Proper Spider Plant Care
Spider plants grow best in bright, indirect light and can tolerate lower-light conditions, although growth may slow and variegation can fade. Harsh direct afternoon sun can scorch the foliage. For window direction, daily light hours, direct sun, low-light conditions, and grow-light placement, see our complete guide to spider plant light requirements.
■ Water
The spider Plant prefers loamy, well-draining soil that stays slightly moist. A simple rule is to water when the top of the soil feels dry, a method that works well for many indoor plants, including snake plants watering needs and peace lilies watering routine. Whenever possible, use rainwater or distilled water, as spider plants don’t grow well with the additives in regular tap water.
Steady Watering
While spider plants can tolerate short dry spells, they grow best with consistent moisture. Understanding the watering needs of spider plants can help you adjust how often you water as indoor conditions change.
■ Temperature and Humidity
Spider plants prefer a stable indoor environment. Sudden temperature drops or exposure to cold drafts can stress the plant and slow its growth. Keep it in a warm space with indirect sunlight and moderate humidity. A temperature range of 15–27°C helps maintain healthy foliage and supports continuous growth without stress.
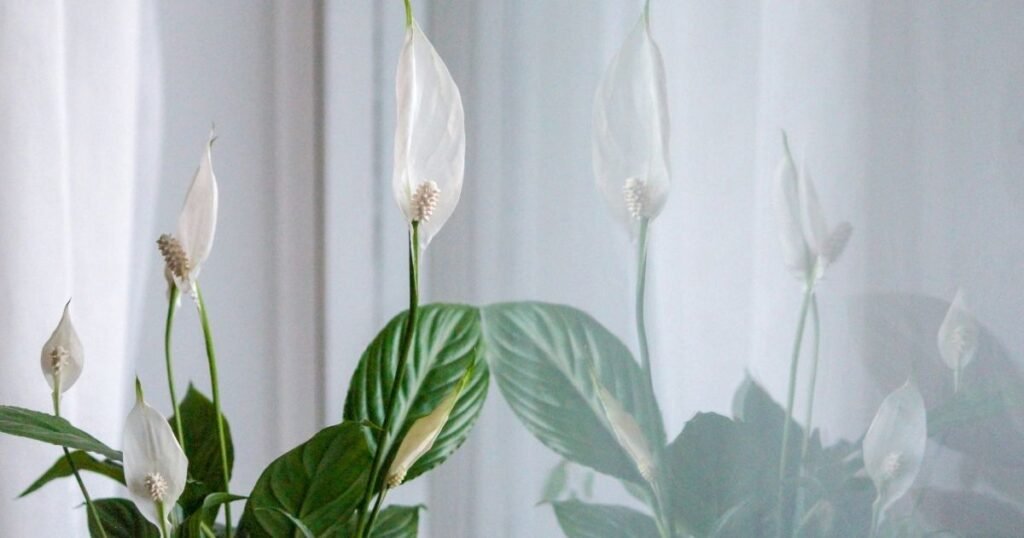
For plants with similar humidity and indoor requirements, you can also explore our complete Peace Lily Care Guide.
■ Fertilizer for Spider Plant Care
If your plant looks pale or growth slows down, it may need nutrients. Spider plants don’t require heavy feeding, but a diluted, balanced liquid fertilizer once a month during the growing season can improve leaf color and overall growth. Avoid fertilizing in winter when the plant naturally slows down.
■ Pest Prevention
Spider plants are usually resistant to pests. However, they can be affected by mealybugs or spider plant mites, especially when the plant is stressed or overwatered. To prevent these issues, gently wash the leaves with insecticidal soap, then apply a light coating of neem oil for added protection. Additionally, keeping the plant clean and regularly checking the undersides of the leaves helps you catch spider mites early before they spread.
Pruning a Spider Plant
A messy look, brown tips, or uneven growth usually means your plant needs a quick trim. Removing damaged or aging leaves early helps redirect energy into fresh, healthy growth. Pruning enhances the appearance and health of the Ribbon plant, giving it a bushier look.
How to Prune a Spider Plant
A spider plant doesn’t need regular pruning.
- If you note any brown foliage from the base or growing spiderettes, then it’s time for a pruning. For pruning, use clean scissors and pruning shears.
- If only the tips are brown, cut them with scissors in a slightly mimicking leaf shape.
- If the spiderettes are overgrown and give the plant a messy look, cut them off from the base. It helps the mother plant save energy and grow healthier.
- If the foliage becomes thin and brown from the base, cut it with clean scissors, but remove only (20%–25%) at a time.
- If you notice bulky roots or roots circling the pot, it’s time for root pruning. Remove the plant, trim (10%–20%) of the roots, and follow this guide on repotting a spider plant to refresh the soil and choose the right pot size.
Spider Plant Flowers
Noticing small white flowers on your spider plant? That’s actually a sign your plant is getting the right balance of light, watering, and overall care. These blooms don’t just improve appearance, they eventually develop into baby plantlets (spiderettes), which you can use to grow new plants easily.
Spider Plant Propagation Methods
Once your spider plant starts producing baby plantlets (spiderettes), it becomes very easy to grow new plants from them. These small offshoots develop on long stems and already have tiny roots, which makes propagation simple even for beginners.
If you’ve ever wanted to multiply your indoor plants or share them with others, this is the easiest stage to do it.
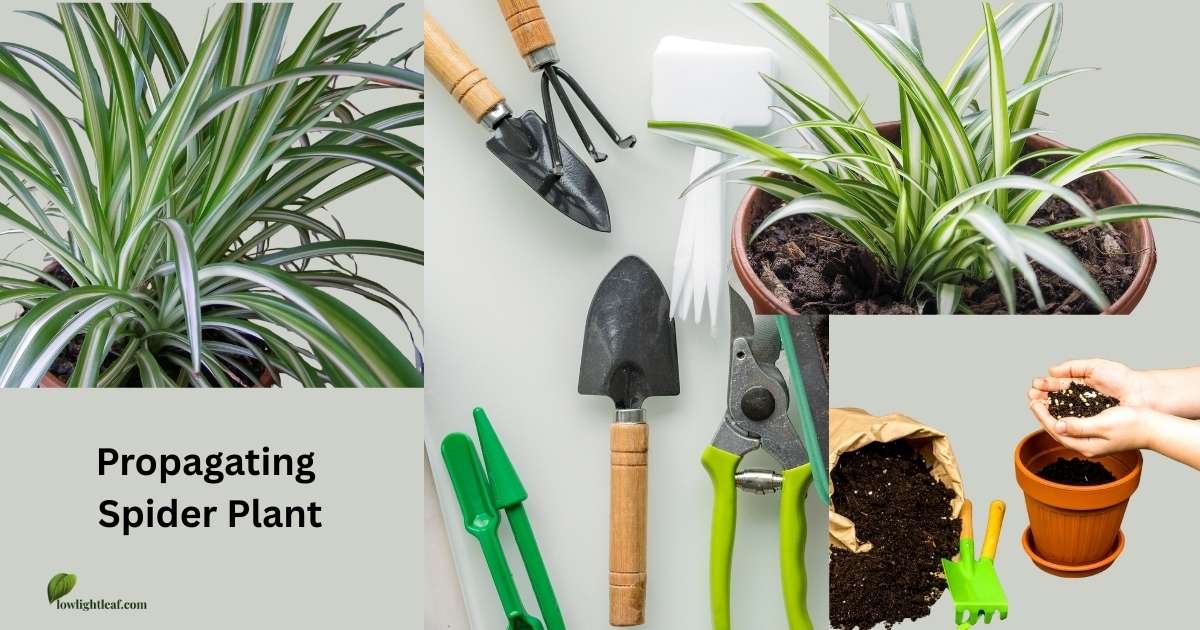
Spiderettes
Spiderettes are the baby of the spider plant, also called pups, babies and plantlets. They grow from the long stems of the Spider Plant. These offshoots develop leaves and tiny roots as they attach to the mother plant.
How Propagation Works (Quick Overview)
➔ Maturing: First, allow the spiderettes to mature before propagating.
➔ Cutting: Cut it off the mother plant, leaving about ⅔ cm of stem attached to the spiderette.
➔ Prep Pot: Prepare a pot; terracotta pots are recommended for planting Chlorophytum Comosum plants.
➔ Filling soil: Fill the pot with fresh potting mix, moisten the soil, and place it in a warm location to encourage root growth.
➔ Planting Plantlet: Place the plantlet on the soil surface and lightly cover its tiny roots. Keep the soil slightly moist.
For a complete step-by-step guide (with all methods and mistakes to avoid), check detailed guide on spider plant propagation.
Propagating Spider Plant Through Root Division
Spider plants can also be propagated via root division. Simply remove the plant from its pot and gently separate the root ball into smaller sections, ensuring each section has healthy roots and foliage.
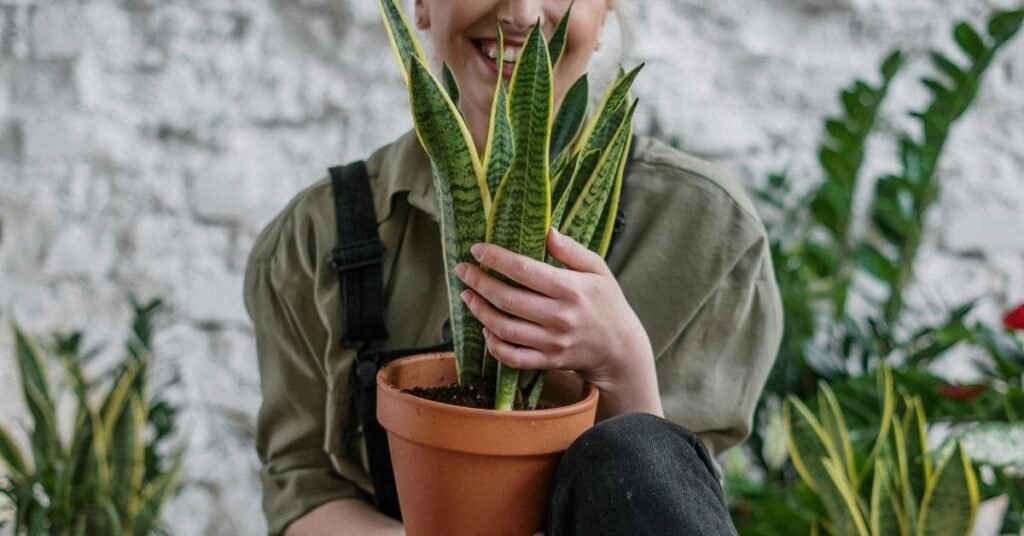
If you enjoy growing easy-care houseplants like the Spider Plant, you’ll also find our Snake Plant Care Guide incredibly helpful.
Why Spider Plants Are Great Indoor Plants
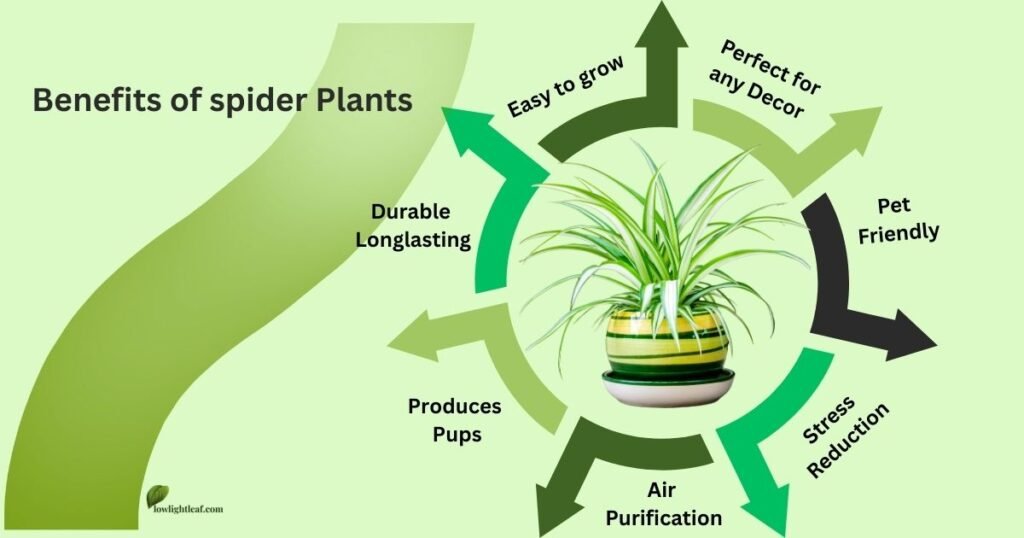
Looking for an easy indoor plant that actually grows without constant attention? Spider plants are a great starting point. Their ability to adapt to different light conditions, tolerate occasional watering mistakes, and grow quickly makes them ideal for beginners.
Another reason spider plants are so popular is their decorative foliage. The long, arching leaves with green and white stripes look beautiful in hanging baskets, wall planters, or on shelves, adding a soft and lively touch to living rooms, bedrooms, and offices.
Spider plants also produce small baby plants known as pups or plantlets. These offshoots grow along long stems and can easily be propagated to grow new plants. In addition, spider plants are sometimes chosen by pet owners because they are generally considered non-toxic to cats and dogs, making them a safer choice compared with many common houseplants.
For a detailed look at all the advantages, see our full guide on Spider Plant Benefits.
Spider Plant Disadvantages (Quick Overview)
Spider plants are easy to grow, but they are not completely maintenance-free. Their fast growth means frequent repotting may be required. Brown leaf tips are common, especially if tap water contains fluoride or salts. Additionally, in very low light, growth slows down and the plant may lose its vibrant color. While these issues are manageable with proper care, it’s important to understand them before bringing the plant home.
👉 For a detailed breakdown of potential drawbacks of spider plants, long-term care challenges, and practical solutions, read our complete guide here.
Common Spider Plant Problems And Solutions
To keep your spider plant healthy, regularly observe it and note anything that looks unusual. It may feel like detective work, but early diagnosis always leads to better plant health.If your plant isn’t growing well or starts developing brown tips, it usually comes down to light, watering, or soil conditions. For a closer look at the causes behind stalled growth, see our guide to Spider Plant Not Growing.
Below are the most common problems that happen to spider plants and how to fix them:
Spider Plant Brown Tips
Problem: Ever this happened to you, you looked at brown tips leaves and wondered, “Why do the edges turn crispy brown, as if the plant had a bad day in the sun?”
Reason: Brown leaf tips are often caused by mineral buildup, inconsistent watering, or low humidity. Similar browning issues can also appear in other indoor plants, especially in cases like peace lily brown leaves.
Solution: Place the plant near a humidifier, maintain a consistent watering schedule, and use rainwater, filtered, or distilled water to avoid chemical buildup. Always avoid over-fertilizing (do not fertilize in winter or fall).
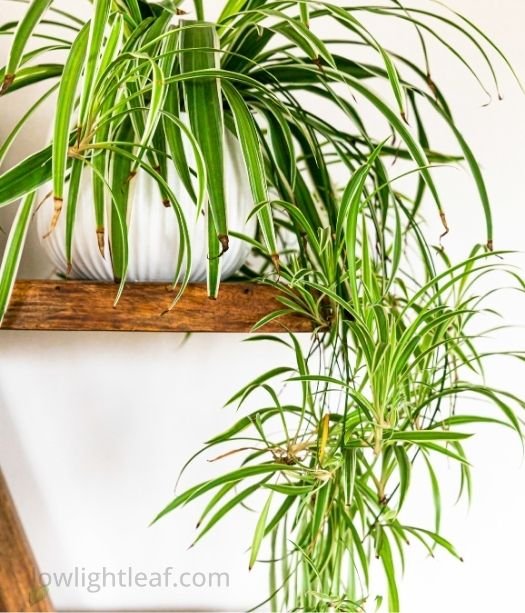
For a complete breakdown of every possible cause, diagnosis, and step-by-step solution, read our guide on Spider Plant Brown Tips.
Spider Plant Yellow Leaves
Problem: Noticing your spider plant’s leaves turning yellow and looking dull is a common issue, often linked to watering or soil conditions. Similar yellow leaves problems in plants like snake plants can also occur under improper care.
Reason: Yellow leaves can have several causes, including watering stress, poor drainage, root problems, unsuitable light, or mineral buildup. Check the soil and surrounding symptoms before deciding what is causing the yellowing.
Solution: Use the weekly finger test: check the top inch of soil. If it still feels moist, don’t water yet. Check again after 2 days. This simple habit prevents underwatering and helps keep the leaves fresh and healthy, while understanding what causes spider plant yellowing can help you identify problems beyond simple watering mistakes.
Spider Plant Wilting Leaves
Problem: Are you tired of seeing these Wilted leaves? Come with us, we tell you, what are you missing?
Reason: Wilting leaves occur due to insufficient light. Spider plants thrive in bright, indirect sunlight. Overheating can also cause the leaves to wilt.
Solution: If you notice wilting, move the plant to a location with proper humidity and indirect light. Avoid keeping the plant near fireplaces, heat vents, or hot windows, as excessive heat can stress the plant.
Spider Plant Brown Base
Problem: Are you wondering? “Why does your plant base becomes brown?”It’s almost like it’s hiding a sad secret story.
Reason: A brown base on spider plants is usually a sign of overwatering, which can lead to root rot.
Solution: If the plant base starts turning brown, it’s time to repot and prune the roots. Root rot cannot be fixed with minor adjustments; repotting is the best solution.
Keep in Mind
Keep in mind, root problems aren’t always visible in the leaves. Sometimes the roots may start to weaken early, and the signs only appear later.
Tips to Keep a Spider Plant Healthy Long-Term
Chlorophytum Comosum, commonly known as the Ribbon plant or Spider Plant, is a favorite indoor plant for its lush green, long leaves and easy indoor care. From experience, maintaining consistent care routines is what keeps spider plants healthy, fast-growing, and visually vibrant over time. By following these steps, you can keep its beauty long-lasting.
■Providing a balanced amount of light is most important, and the key to keeping plants healthy. For a deeper understanding of how different plants thrive in low-light conditions, you can also explore our The Ultimate Guide to Low light Plants.
■The secret of a healthy plant lies in mastering your watering routine. By balancing moisture, using clean water, and avoiding overwatering, you unlock the true secret of a healthy spider plant.
■Another Secret for a healthy spider plant is the Right temperature. Overheating can cause leaf scorch in plants. And a drop in temperature can cause dull leaves due to dryness.
■Always use high-quality mix-potting soil, slightly acidic with a pH of 6.5.
■Spider plants prefer moderate humidity. To achieve the right humidity level, use a humidifier or keep a tray of water nearby.
■A balanced liquid-soluble fertilizer can keep the Spider plant healthy. Ensure Fertilizing every 4-6 weeks during the growing season.
■Sir J. D. Hooker (botanist) said on root behavior:
“Healthy root architecture depends on proper container aeration and space.”
For Spider Plants, we recommend using a pot slightly larger than the root ball and one that has proper drainage holes.
Stylish Ways to Decorate Your Home With Spider Plants
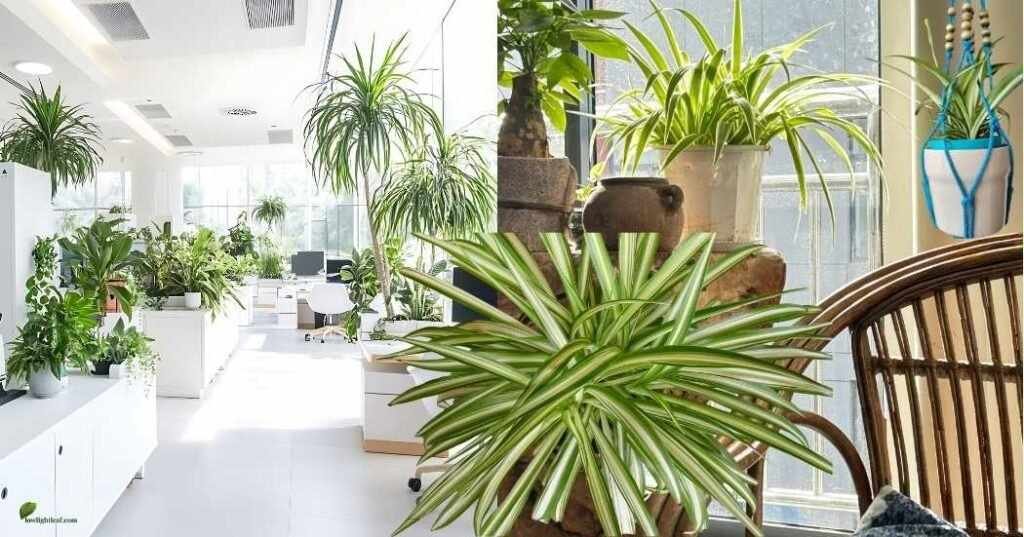
Caring for and planting the Chlorophytum Comosum is not enough unless you know how to showcase its beauty and your care for your visitors. Placing Spider Plants in the right spot will brighten your space, enhance the aesthetic, and showcase their long, arching, lush green leaves.
Here are a few decor ideas to inspire you:
■ Spider Plant in a Hanging Basket
The spider plant looks its best in a hanging basket or pot, making it a popular choice among indoor hanging plants for balconies or living rooms near a bright window.
■ High Table
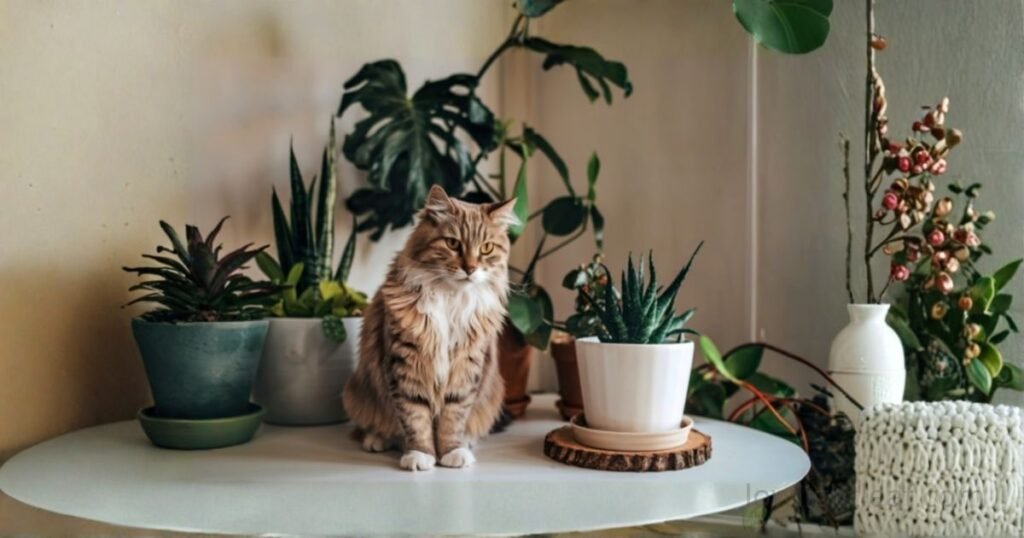
Additionally, placing your plant on a high table improves visibility, adds height to the room, and keeps it out of reach from pets.
■ Shelves
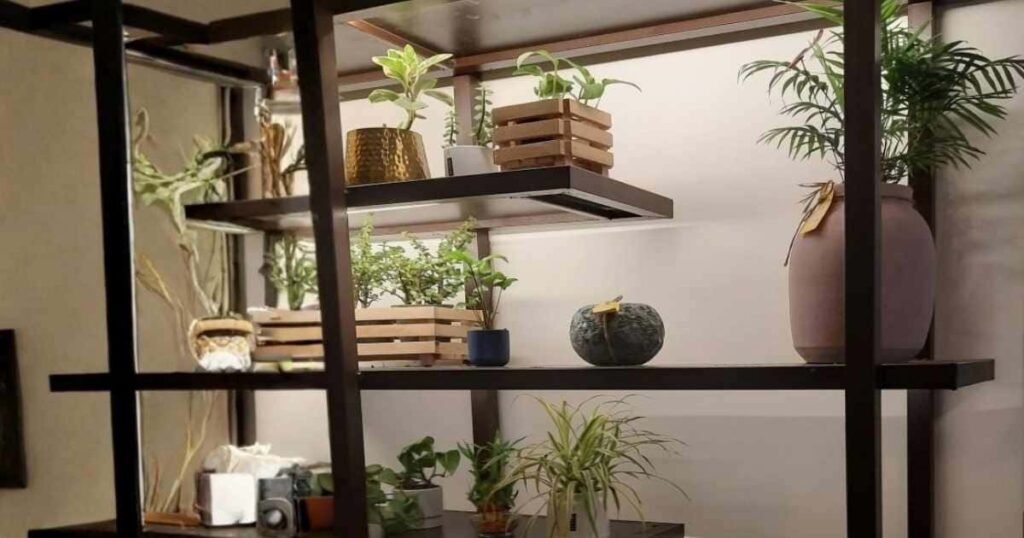
Placing these plants on shelves adds greenery at eye level and livens up your decor. It works best on shelves near windows or under soft, indirect light, allowing the arching leaves and baby plantlets to flow beautifully.
■ Decorative Floor Planters
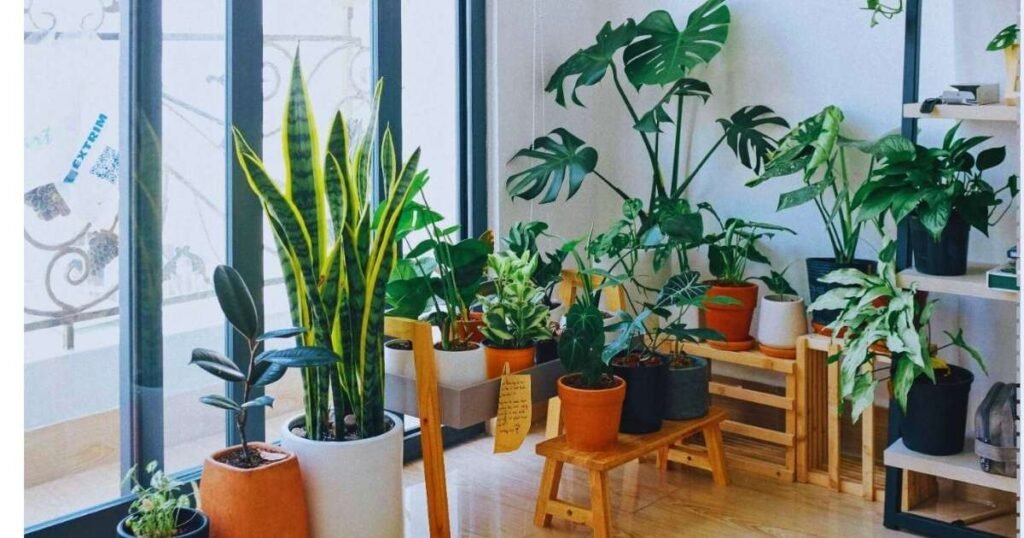
Placing a Spider Plant in a decorative floor planter is a perfect way to fill empty corners or add greenery to an ample space. Just make sure the plant receives bright, indirect sunlight for healthy growth.
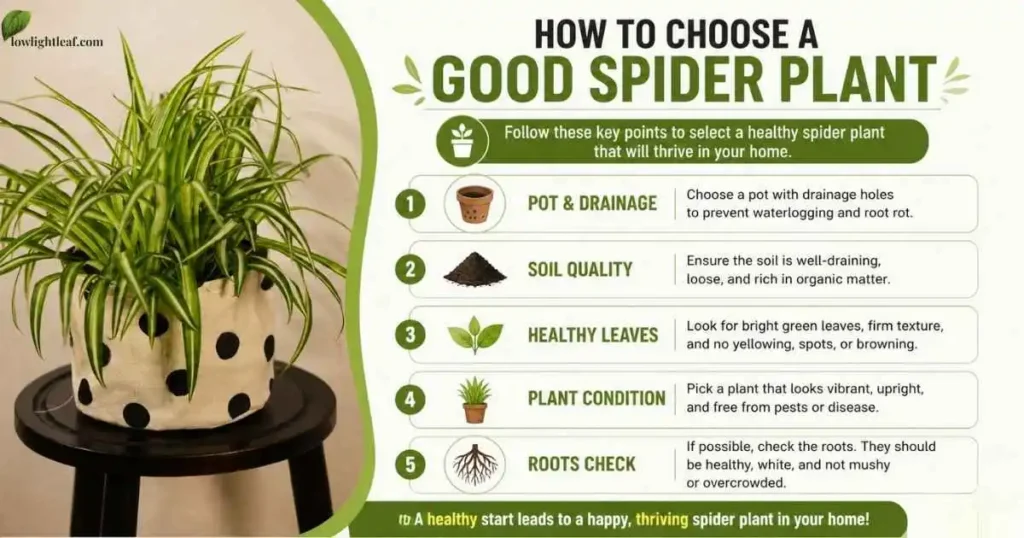
How to Choose a Good Spider Plant
Choosing a healthy spider plant from the start can save you from common problems like brown tips, weak growth, or root rot later on. A quick check of the leaves, roots, and soil condition helps you pick a plant that will grow easily indoors and stay healthy with minimal effort. If you are planning to buy a spider plant, always consider these small but essential details.
Spider Plant FAQs
Where is the best place to put a spider plant?
Place a spider plant in a comfortable indoor spot away from harsh afternoon sun, heating vents, and cold drafts. Choose a location where its arching leaves and trailing spiderettes have enough room to grow without being crowded.
Is the spider plant safe for pets?
Yes, spider plants are considered non-toxic and safe for cats and dogs. However, pets may still chew on the leaves out of curiosity, which can cause mild stomach upset. To be safe, place the plant where pets can’t reach it easily.
Why does my spider plant have water droplets on its leaves?
Water droplets on spider plant leaves are usually caused by guttation, when the plant releases excess water through specialized openings near the leaf tips. This can happen when the soil is moist and the plant is taking up more water than it loses through transpiration. Droplets alone do not necessarily mean the plant is overwatered, so check the soil and other symptoms before changing your watering routine.
Do spider plants like to be root-bound?
Spider plants can tolerate being slightly snug in their pots, but becoming severely root-bound can restrict root space and affect water uptake. If roots are tightly circling the pot, pushing through drainage holes, or the plant is drying out unusually fast, it may be time to consider repotting.
How to get rid of pests on a spider plant?
Spider plants are generally pest-resistant, but mealybugs and spider mites can appear if the plant is stressed. Clean the leaves regularly and apply neem oil as needed to manage pests without harming the plant.
For more indoor plant care guides and helpful tips, visit our Home Page

Ellie Marsh
Houseplant grower who spent years in a north-facing apartment. Writes practical care guides for low light homes, checked against extension and botanical garden sources.
Pingback: Snake Plant Yellow Leaves: 9 Common Causes, Fixes & Care Tips
Pingback: Snake Plant Light Requirements: Best Sunlight for Healthy Growth - Low Light Leaf
Pingback: Best Hanging Indoor Plants: 17 Easy-Care Picks for Any Room